


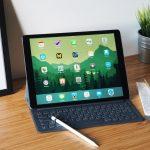
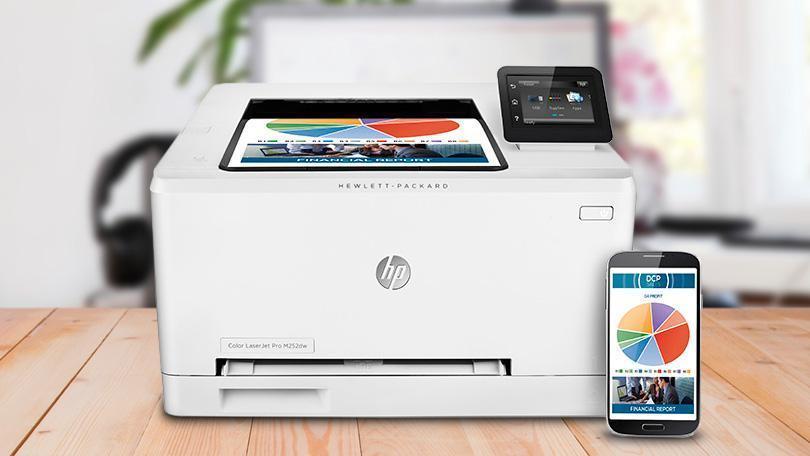
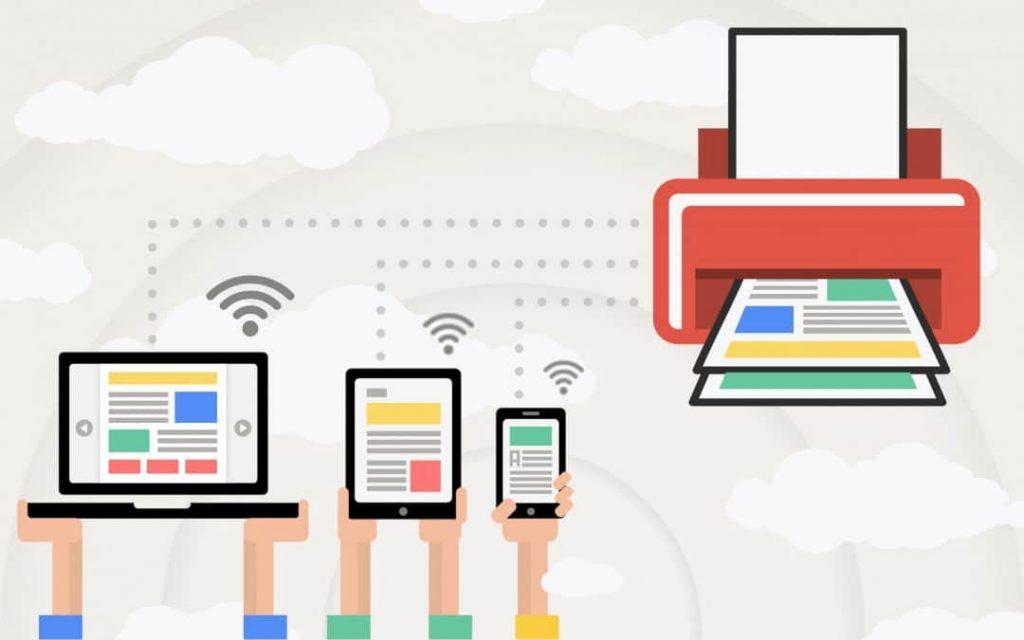
Wireless printers are a relatively new and extremely useful invention. They make it possible to print anything from anywhere within the wifi connection of the printer. You no longer require cables, and tripping over wires is a thing of the past. Plus, you are no longer bound to only printing from a computer. You can now print from a tablet, phone, or computer with ease.
You can be walking around the house, searching for a recipe, decide that you have found the best chocolate chip cookies in the world, and click “print” from your position in the kitchen on your phone. There really are no boundaries except, in some cases, where your Wifi signal reaches as printers run on Wifi often. Sometimes, printers also do other functions such as scan and fax as well, so the addition of this device to your home or office can be a great plan.
Setup Is Easy
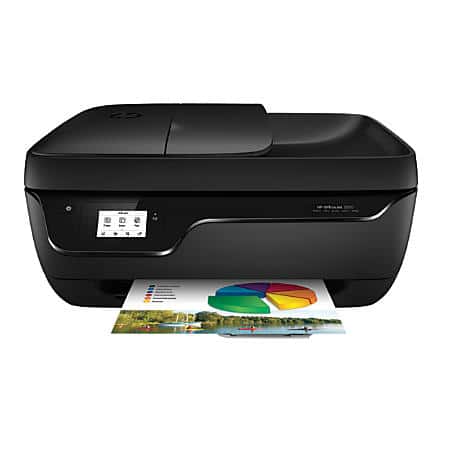
Setting up a wireless printer is accomplishable by anyone. Once you do it, you will see that other wireless setups of printers or even different manufacturers are also basically the same. You can do this with a series of steps that make it very possible to do so with very little time and worry. Not all technology needs to be exasperating, all you have to do is have a little patience and willingness to learn, which if you are here reading this, you surely already have. First, you have to decide what printer you would like to purchase. There are a huge variety of printers available by such brands as HP, Canon, Kodak, and more. There are excellent choices from these big brand names, and they can be purchased at your local electronics store or online. It can be wise to shop around to find the best price. Reading reviews is also a useful aspect of purchasing a printer that will continue to work for you as some may be better than others. Plus, you will want to choose one that has the features you need. If you never intend to scan or fax, you probably don’t need to purchase an all-in-one unit. You can go with one that simply prints, and this can be a lot less expensive anyway. Once you have selected a printer, you’re ready to set up.
Steps To Setup On A Phone or Tablet
We are going to take a general look at the steps involved to set up a wireless printer. Please be aware that these steps are slightly different as per the printer you select. However, they will serve as a good guide. The instructions that come with the printer are always a great guide to keep as well, as some steps slightly vary as per the printer and manufacturer. All manufacturers make an effort to make installation and setup as easy as possible for the consumer. Please read on to understand the general steps to get your new printer going and working for you immediately.
Step 1: Unpack your wireless printer. There are usually about a million pieces of packing material, so this could take a while. Printer companies usually have to pack them very securely as they can get broken in shipping without the proper packing materials. Printers are not exactly terribly durable. Locate the printer itself, the cord, the ink, instructions, and whatever else might come with the device. Take everything out of the little plastic bags, take the tape off, and just get everything laid out on a flat surface to make everything easier for you to see and locate.
Step 2: Plug in your wireless printer and turn it on with the “on” button that will be somewhere prominently displayed on the device. It might have a little lineup and down. In many instances, this is a good time to install the ink, but this will depend upon the printer. If it asks you to install the ink, open the compartment which is not the lid to copy or scan on, it is instead the area underneath this section where the ink slides back and forth as it prints. Just gently open this compartment. You will need to unwrap the ink, pull the little sticker off the ink cartridges, and then gently put the ink cartridge into the correct compartment which is usually labeled for your convenience.
 Step 3: Look for the instructions. See if you can find a guide within that will tell you if an application is needed to be downloaded from the internet to install on your tablet or phone. You may need to go through the instructions in detail to find this information. There is usually a quick start guide, so you may be able to glance through and find out if an application will need to be downloaded first.
Step 4: If an application is needed, find and download the application from the application store. If you have an Apple, go to the App Store, if you have a droid, go to Google Play. This application is usually easy to find and is safe for download when it comes from a trusted printer manufacturer. Initiate the download. Sometimes you may need to input your password even if it is free depending upon your account settings. Wait until the app downloads and then open it on the tablet or phone.
Step 5: You may need to connect the printer to Wifi first. In some instances, this is when you will do so. If you have a password, go ahead and input the password on the printer’s screen when prompted. This can take a while as the keyboard can be very small and can require some time to figure out how to switch between capital letters, lowercase letters, and numbers, so if you Wifi password is complicated, this could be a challenge. Take your time and make sure everything is correct.
Step 6: Add the printer to the application. There should be a very simple location to find this as the app knows this is the first time you are using it. The app should then take care of the rest. If there are additional steps, you will see a prompt to do so within the application which will then walk you through a step by step process to make your life as easy as possible. You should then be able to print with ease from that device. Once the printer is set up, you will then be able to easily find it with your phone or tablet. Your computer will probably be able to download the software on its own after you tell it that you would like to print. We will talk about this part next.
Adding an Existing Printer
If the printer is itself already setup, and you are just using the printer on the tablet or phone for the first time, there is a different series of steps you may use. These are abbreviated for ease as someone else, or you, already set the printer up completely, and you are simply trying to use it.
- Step 1: Find a document or internet page you would like to print. This can be anything you want, or it can be the reason you are even needing to set up a printer, to begin with.
- Step 2: Select the option within the device to print the document or page. This can vary per device, so find your device’s method of initiating the printing function. It can be on the bottom of the screen, usually indicated by a general icon which brings up a variety of settings. You will need to select the option to print.
- Step 3: You will see an option within this to select a printer. Choose the printer you would like to use from the those available. There may only be one available, the one you are setting up. Make sure you know the name of your printer or the manufacturer of the said printer so you can locate it from the list. If you have multiple printers by the same manufacturer, make sure you select the model of the printer you are trying to connect to. You may have to glance at the printer and read the numbers or letters from the side or front of the device.
- Step 4: Go ahead and print from this device. The phone or tablet will connect with the printer on its own and print for you, making your life very easy. Printing time is usually very quick, no matter what device you are using, so you should know very shortly that everything is set up perfectly.
Steps To Setup a Printer On a PC “Desktop/Laptop”
If you are setting up a printer on a computer, it can be slightly easier as the computer sometimes does the work for you. The steps are similar. However, a computer usually has more power and software ability, making the setup simpler. It can find the proper software for you, unlike the old days when you only had the choice to either insert the disc that came with the printer or go to the printer manufacturer’s website to download the software. Some excellent printers still do this type of install, and it is also easy to do.
Step 1: Unpack your wireless printer. There are usually about a million pieces of packing material, so this could take a while. Printer companies usually have to pack them very securely as they can get broken in shipping without the proper packing materials. Printers are not exactly terribly durable. Locate the printer itself, the cord, the ink, instructions, and whatever else might come with the device. Take everything out of the little plastic bags, take the tape off, and just get everything laid out on a flat surface to make everything easier for you to see and locate.
Step 2: Plug in your wireless printer and turn it on with the “on” button that will be somewhere prominently displayed on the device. It might have a little lineup and down. In many instances, this is a good time to install the ink, but this will depend upon the printer. If it asks you to install the ink, open the compartment which is not the lid to copy or scan on, it is instead the area underneath this section where the ink slides back and forth as it prints. Just gently open this compartment. You will need to unwrap the ink, pull the little sticker off the ink cartridges, and then gently put the ink cartridge into the correct compartment which is usually labeled for your convenience.
 Step 3: You may need to connect the printer to Wifi first. In some instances, this is when you will do so. If you have a password, go ahead and input the password on the printer’s screen when prompted. This can take a while as the keyboard can be very small and can require some time to figure out how to switch between capital letters, lowercase letters, and numbers, so if you Wifi password is complicated, this could be a challenge. Take your time and make sure everything is correct.
Step 4: Go to the settings within your PC which are usually located on the right side of the pop-up bar that comes up after pressing the Windows symbol on the left side of the desktop. Locate the “Devices” setting, which is usually near the top of the settings window.
Step 5: Click on the “Printers & Scanners” option within the “Devices” setting. It is usually about the second option on the left side of the settings window.
Step 6: Click on “Add a printer or scanner.” The computer will then search for available printers and scanners.
Step 7: You must then select the printer that you would like to add. It will show up in the available printers section. Once you do this, you can simply add the printer and then allow the computer to download the software on its own, which is incredibly convenient. It knows to locate the software, usually, and can download it quickly. You will be ready to go in a matter of minutes usually, with no additional effort on your part.
Printing Is Now Easier Than Ever
Congratulations! You did a great job. You can now print from any device whenever you would like. The sky is limit, as you can print from the very phone in your hand to your tablet to your computer. The steps are easy and can be replicated whenever you need to set up a new printer for work or personal use, whatever is necessary. In this day and age, cables and wires are a thing of the past, and you can enjoy the ease of Wifi set up and use. You don’t have to be close to the printer, just close enough that both of you and it are on the same Wifi typically. You can print from any room within that Wifi range of the printer. If you have a truly fantastic router, you might be able to print from the lawn chair on your front yard. Some printers even allow you to print from other locations completely, depending upon the type of printer and settings. The usefulness of these devices is profound, and have become very reliant on them. If your printer goes down, life can seem to literally stop. This is why it is important to have a comfort level with set up so the next incident when you are short on both time and patience, you can get this piece of technology working for you as soon as possible. With simple set up, you can enjoy access to your new wireless printer and use it for months or years to come.