


Backing up your computer is an essential aspect of owning one. Data of all different types are present on computers, and it is so easy to lose everything.
If the computer is dropped and the hard drive breaks, a virus invades, or some other adverse event occurs, everything you need could be lost with no way of recovering said data. The horror stories about the loss of information associated with computer damage or disease are numerous and all quite sad. Personal data, college essays, that huge project you’ve been working on for months, family photos, and so much more have been lost due to the lack of backing up either at all or infrequently. Computer owners cannot possibly anticipate every single possible threat that can occur to their computer from it slipping out of their hands on the way to work to a virus or even a hardware malfunction. The only way to protect the truly vital parts is with backing up.By backing up at intermittent times, you can be sure to keep your data safe at another location, which can then be used to repopulate your computer with the same data you would have lost. Some programs can even back the entire computer up, exactly as is, to the hard drive so you can have exactly what you lost down to the last file.
Is It Difficult?
No, it is absolutely not difficult. Anyone can do it with some proper instruction as well as some practice. All technology can be frightening when it is new, or when the owner is not yet comfortable with its operation. Nothing worth learning is easy, and believe me, this is worth learning. Technology isn’t going anywhere, and in the future, it seems that photo albums will be digital instead of paper. This point alone is worth learning to back up because a data loss could result in precious family memories that are unrecoverable. Let’s take a look at the steps necessary to back up your computer today and safeguard your irreplaceable digital data.
Let’s Talk About Windows
Backing up a Windows computer and a Mac computer take slightly different steps. One is not necessarily easier than the other. It is merely what you get used to and are comfortable with. Let’s take a look at backing up a Windows computer first.
Step 1: Turn your computer on. Wait till it boots up properly and completely. If it has updates it needs to do, it is best to let it get everything done. Failing to keep your computer up to date is just a whole other topic, but suffice it to say, it needs to be done regularly, just like backing up.
Step 2: Go to the bottom left-hand corner of the screen and click on the Windows icon. Clicking on this icon will bring up a pop-up menu on the left side of your screen. You really have to hand it to Windows. No matter how advanced they become, they try to seem as familiar as their older systems we all used and loved.
Step 3: Click on “File Explorer” which should have the icon of a little folder beside it. It might be in the middle of your screen. This icon will bring up a pop-up menu in the middle of the screen.
Step 4: Go to the left-hand side of the pop-up menu and click on where it says “This PC” with a little computer icon beside it. This will tell you all about what is available on your PC.
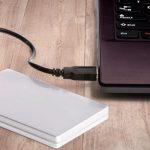
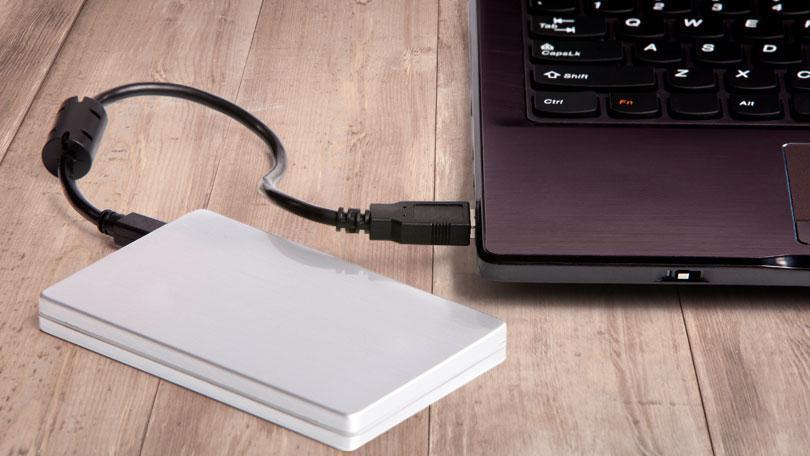
Step 5: A bunch of icons will show up underneath with such labels as “Documents” or “Downloads.” Get your external hard drive which you will have purchased ahead of time. Even if it is a solid state drive, these drives are still very delicate, so be very careful. Keep it level and never jar it as it is a hard drive, which is by definition, a very fragile item. Take good care of this investment as it is itself expensive, not to mention the fact that it is about to hold valuable personal information. Plug it into the USB port on your computer, which is a
 little port either on the side of your laptop or on the front or back of your desktop. There are usually several of them, so look for a port of which there are multiples.
Step 6: Look at the list of icons underneath “This PC” and find the one that just appeared which will be your external hard drive. Telling you exactly the name of this new drive will be difficult as they are usually called different things which can depend upon the maker of the hard drive and more.
Step 7: Once you locate that hard drive, click on it.
Step 8: Drag and drop your hard drive, which is your C drive, onto your external hard drive.
Step 9: Wait until the light stops flashing on your hard drive to make sure that the data is copied properly before ejecting. This could take seconds to a few hours depending upon how much data needs to be copied.
Step 10: Eject your external hard drive, and you’re done!
Let’s Talk About Mac
Backing up a Mac is just as easy. The steps are very straightforward and can be replicated every time you need to safeguard your data. Please be aware that this is one way to back up specific data, such as documents and photos on a Mac, which are the most common and important files usually. There are several others as well including the popular Time Machine program, which we will discuss later.
Step 1: Turn on your Mac computer, and wait until it is properly booted.
Step 2: Get your external hard drive which you will have purchased ahead of time. Even if it is a solid state drive, these drives are still very delicate, so be very careful. Keep it level and never jar it as it is a hard drive, which is by definition, a very fragile item. Take good care of this investment as it is itself expensive, not to mention the fact that it is about to hold valuable personal information. Plug this into your computer’s port. If it is an older Mac, it might actually have a USB port which will be simple. However, the newer Macs do not have USB ports. They instead have a general port that is then utilized with the attachment of another connector. This feature makes the Mac streamlined, however, it can necessitate the purchasing of another piece of equipment. Make sure you have a connector if needed. They can be purchased from Apple easily.
Step 3: Wait until your hard drive shows up, usually in the upper right-hand corner of the desktop screen.
Step 4: Click on your external hard drive which will usually be called whatever the device is. If Seagate makes it, for example, that is what will appear with the little icon in the upper right-hand corner.
Step 5: Go to the upper right-hand corner of the screen where there is a little magnifying glass. Click on that. This is your “Finder,” which can locate anything on your Mac from one central location.
Step 6: Type “documents” into the bar that shows up.
Step 7: This brings up a window in the middle of the screen that has all of the files in your documents folder. You can drag and drop these files into the external hard drive window. You may hear a little sound to confirm that this has happened each time you drop a file or folder.
Step 8: Back up photos as well by opening the program within your Mac that stores them. It is usually at the bottom of the screen in your gray menu bar. It should be a white circle with a rainbow pinwheel inside. Look inside to ensure that all of your photos were stored there and not to a “Pictures” folder somewhere else within your Mac. If they are in that folder, you can simply drag and drop that folder just like any of the other information as you have been doing. Go to the “Photos” tab in light gray at the top of the window.
Step 9: Click “command” and “a” on the keyboard to highlight all photos. If you have a lot of photos, this can take a moment.
Step 10: Go to “File” and then “Export” in the upper left-hand corner of the screen. If the settings on this pop up are acceptable to you, click “Export” in blue on the right side of the pop-up window. This, again, may take your computer a little time even if it is the top of the line model, this is a huge amount of data you are moving. When thousands of photos are copied, it can take a huge amount of time to complete this task. This is normal, and it is best not to bother your computer as it is working on this task. The more you ask your computer to do, the slower it can be.
Step 11: When the new pop-up window comes up, select the external hard drive as the location to back up the files. You may want to create a folder within your external hard drive just for pictures before doing so, but this is your choice. If you deposit all the pictures as is, they will be loose on the hard drive and could get disorganized down the road. If you want to make a folder, simply go to your hard drive’s window and select to add a new folder which you can name with whatever is convenient for you.
Step 12: Wait until all of the photos and other data is done transferring. The photo application will tell you when it itself is done with the task. Then you can eject the hard drive with the little “eject” symbol beside the hard drive in the pop-up window where you have been transferring. You’re done!
A Mac Backup with Time Machine
Backing up with Time Machine is the safest way to ensure that all of your data has been recorded properly and can duplicate your computer in the event of getting a new one or losing data. Let’s look at the steps to do this.
Step 1: Turn on your Mac computer and wait until it is fully booted.
Step 2: Get your external hard drive which you will have purchased ahead of time. Even if it is a solid state drive, these drives are still very delicate, so be very careful. Keep it level and never jar it as it is a hard drive, which is by definition, a very fragile item. Take good care of this investment as it is itself expensive, not to mention the fact that it is about to hold valuable personal information. Plug this into your computer’s port. If it is an older Mac, it might actually have a USB port which will be simple. However, some newer Macs do not have USB ports. They instead have a general port that is then utilized with the attachment of another connector. This makes the Mac streamlined, however, it can necessitate the purchasing of another piece of equipment. Make sure you have a connector if needed. They can be purchased from Apple easily.
Step 3: Go to the settings icon which is the silver square with the wheel on it, it is usually at the bottom of the screen on the desktop.
Step 4: Find the Time Machine icon which is the green circle with a backward arrow and a clock within it. This is indicating that it is like turning back time for its user.
Step 5: Go to where it says “Select Backup Disk” on the right side of the window and click on this option.
Step 6: When the window pops up on the top of the window, click your external hard drive which should be present on the list.
Step 7: It should begin backing up in seconds. You can also select “Back Up Automatically” on the left side of the window which will allow your computer to back up at intervals that can be changed within the settings. You can then restore your computer to different periods of time as recorded in Time Machine. Or you can do it manually; the choice is yours.
Backing Up Is Easy
Backing up your computer is something that is necessary for the longevity of your data which will follow you around for much longer periods of time than your current computer will exist. When you get another computer, you can always use this drive to transfer important data to the new computer, thus populating it with the items you need to use the most. Since getting a new computer is rather like moving into a new home (okay, only if you spend a lot of time on it as some of us do), making sure you put your furniture (or data and files) into place is rather essential for you to enjoy this new home.
Conclusion
With computers being a huge element of the present, both in personal and business life, there is no indication that technology like this will ever take a smaller role in our lives. The expectation is that their use will continue to grow and keep increasing in usefulness, efficiency, speed, and overall abilities throughout the years to come. Technology has always been the way of the future. As such, it is necessary to organize one’s technological experience with precaution and forward thinking. Just as a filing cabinet would be safe and secure, locked, and organized, this is how we need to view our own personal computers because no one wants to lose that useful little filing cabinet.